Note: 'Rickenbacker' is the sole property and a Tradmark of Rickenbacker International Corporation and I am in no way affilliated with RIC
This page was last updated: June 15, 2011
Welcome to page two. I got the neck pocket routed. The way that it was done was to route it from the back of the main body, then, when glued in place, the rear cap completely covers it. This is the same method that Rickenbacker uses on their semi-hollowbody guitars and basses.
Here it is with the neck laid in the pocket to show how it fits:
Here it is with the neck laid in the pocket to show how it fits:
...........and here's another pic with the back laid on top of it:
The next step is to cut the tummy cut. The reason that I had to do it now is because I needed to find out exactly where, and the exact shape that I can route the hollow chamber on the forearm side. (if I would've routed the chambers first, I would've risked cutting them into the tummy cut!). iI weighs 5lbs 11oz right now. With the hollow wing chambers and control area route, I expect it to come in at about 5 lbs.
Here's a couple of pics of the contour:
Okay. I got ALOT of work done on it today, and I think that I can call it a bass now! ;-)
The first thing I had to do was route the hollow chambers from the back of the body:
at this point the body weighs 4lbs 4 oz.)
Now the real fun begins. Time to glue the neck into the body:
About an hour later, it was time to glue on the back:
Here she is with ALL of the gluing done (and the tuning key holes drilled). Total weight 6lbs 5.2oz.
Since I was trying to juggle the fact that I'm using a hipshot Ricenbacker style bridge instead of a tailpiece/tun-o-matic type as used on Ric semi- hollowbodys, I set the neck just alittle higher in order to top mount the pickups. While it might've had just enough clearance to the pickup magnet poles, it also might have been a little close and could cause the magnets to interfere with the strings ( weird harmonics), so I decided in inly the pickups flush with the top to have a little room fro adjustability. SInce the neck was already glued in, I had to use a dremel and route the neck pickup's inlay by hand with a dremel:
Here's a pic of the slightly inlaid neck pickup, now sitting flush with the top of the body:
I'm going to let the glue cure overnite, then I'll make a nut for it, mount the bridge and string her up to see how she plays!
Tomorrow should be a FUN day!
Well, it's tomorrow! I installed the tuning keys, pickups, nut and bridge and just used an old set of strings for now. It plays like butter (super low action). Acoustically, it sounds alot like a Rickenbacker 4005. I connected the bridge pickup with alligator clips to my cable and plugged her in to see what it sounds like thru an amp and WOW, it's similar to my new 4003 but has a bit more fullness to the notes. I'm reallly loving this bass.
I should have the pickguard/controls wired and mounted by Friday...............
UPDATE:
I made the control plate and pickguard. I used CTS 300K pots, a Switchraft output jack, Switchraft three way toggle and two mallory .047 tone capacitors (i.e. the same exact components as a genuine Eic). I also flipped the phase and magnet's polarity on the neck pickup so when both pickups are on, it's dead quiet (hum free). This gave me a chance to really play and hear it, and I couldn't be more pleased with it's tone. It sounds very similra to a 4003 but it's a bit more lively and resonant. I'm running D'addario ECB80 light gauge chromes (flatwounds on it).
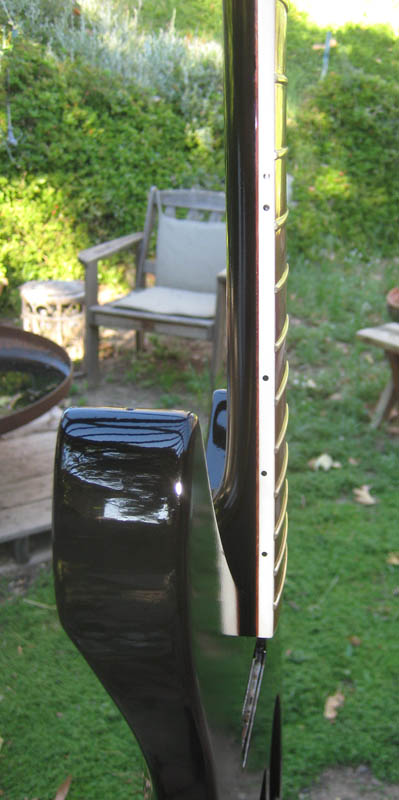
Time to get this bass painted. Since my original plan was to make this a bass version of John Lennon's black 325, the first thing to do was to seal it. I used 3 coats of Fullerplast and block sanded it between each coat.
The following day, it was time to shoot the black nitro. I gave it 4 coats of black, and then 2 coats of clear to seal it in. Once dry, I blocked it (wet) to make it perfectly flat and smooth in order to prepare it for its 6 final top coats of clear nitro.
The following day, I blocked it again, and shot the last 6 clear coats on it. It looks like black glass now and is in it's baking room to speed up the curing process. I expect it to be completely cured in about 5-6 days at which time I can block it with 1500 grit and buff it out.
UPDATE:
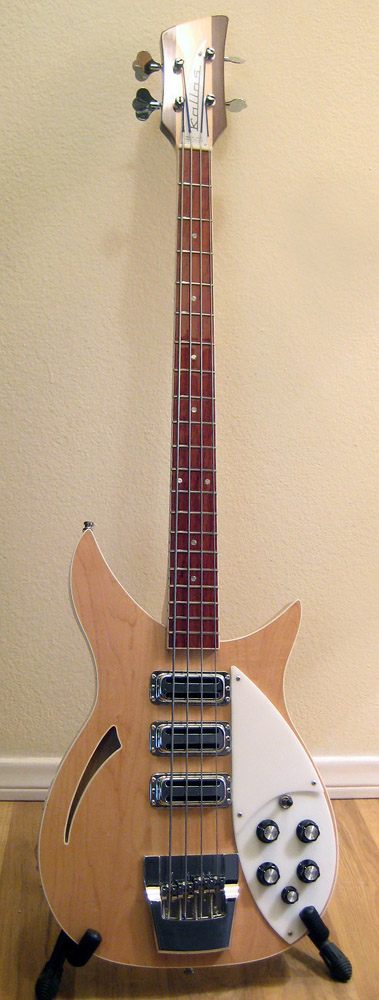
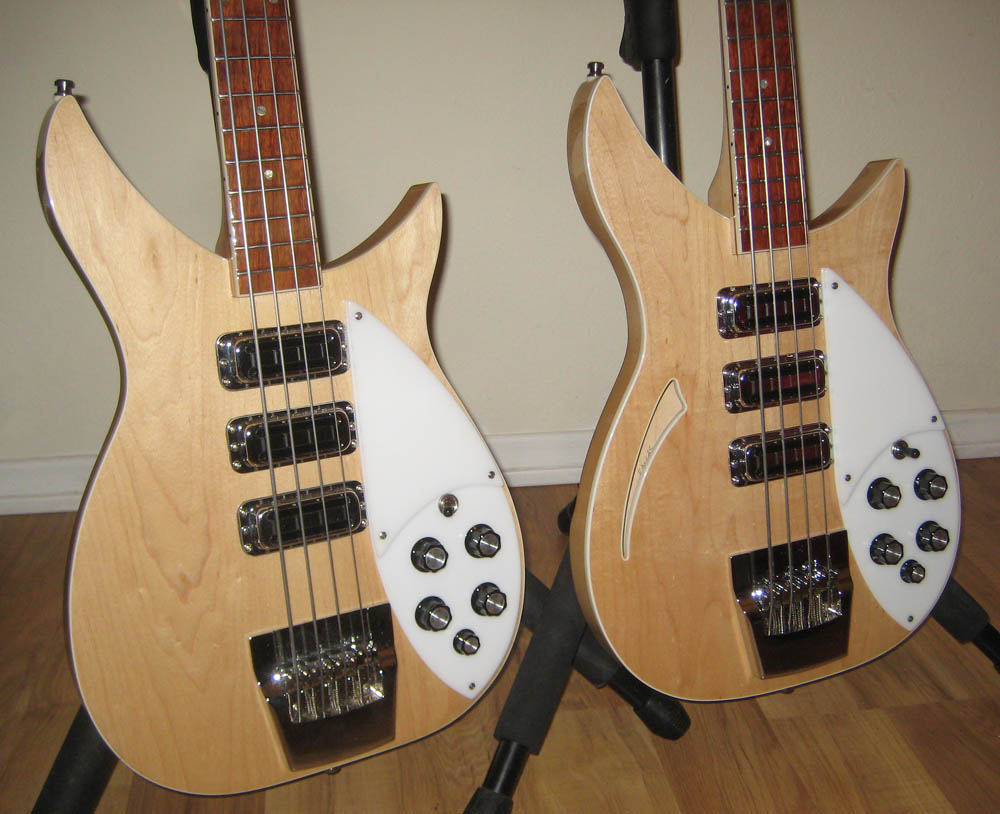
She's done! And boy is she sweet. I love this bass so much..that I built two more . Numbers two and have mapleglo finishes with bound tops, and now all three have three toaster pickups. Anyway, here's a couple of pictures of the result (and more pics can be seen HERE
Number one now with 3 toasters and a five knob harness
Numbers two and three, both with 3 toasters and 5 knob harnesses. Both have bound tops and # has a bound 'shark-fin' F-hole.