Note: 'Rickenbacker' is the sole property and a Tradmark of Rickenbacker International Corporation and I am in no way affilliated with RIC
This page was last updated: December 21, 2011
I always loved the look of John Lennon's Rickenbacker 325, and really liked the '67 4005 Ric that I owned for 25 years. To me, the 4005 was a great bass, but if I had one complaint, it was a little big and bulky for me, so I've decided to undertake building what I think an ideal version of a Rickenbacker type semi-hollow bass would be. It is going to have a 33.25" scale dot/bound set neck, with two Rickenbacker hi-gain pickups in the 4003 bass positions.. It will be hollowed out from the back with a two piece 1/4" back maple cap. I just got all of the wood and parts together for the first two and am currently in the process of gluing up the wood to get the first one ready for cutting.
The Design Goal:
I want it to retain a Rickenbacker's tone, so I'm using hard maple for the body and neck with a Bubinga fingerboard. To make it a bit more comfortable than a 'flat-backed Ric, I'm also going to incorporate a tummy cut. To keep it's size manageable, I intend to make it no more than 13" wide at the lower bout, so it took a little 'massaging' of the guitar version's outline to get it to still retain it's look while enabling it to have a 33.25" scale. Lennon's 325 was a full 2" thick, but I'm going to make mine 1 5/8" thick to save weight and not feel so bulky when played on a strap.
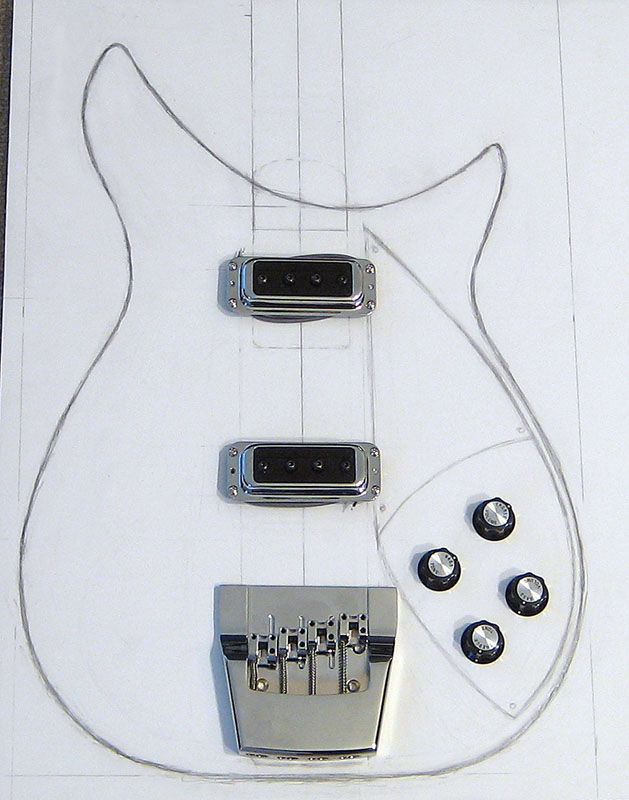
I guess it's a sign of my being 'old school" but I never use a computer to draw out my bass designs, so the first thing that I did was to draw out the rough body shape, in actual size, on a piece of foam sandwiched poster board.
Then I laid the components on it to check their locations
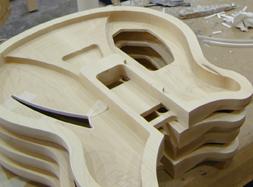
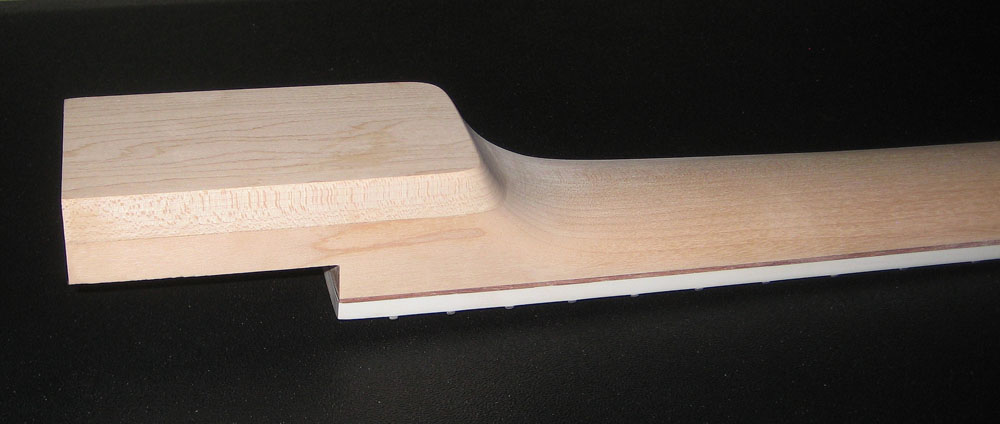
Here's a pic of a Rickenbacker 360 that shows how it is hollowed out from the rear. This is the same basic construction method that I am using for this bass build, only I will not be cutting a 'shark fin' F hole in mine.
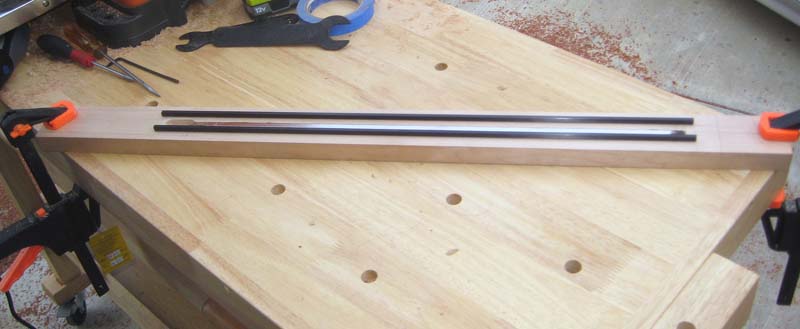
Here's a pic of two of the quarter sawn maple neck blanks, with the their truss rods and fingerboard blanks. I'll also be installing two carbon/graphite stiffening rods on each side of the truss rod to give them more rigidity and minimize and dead spots while keeping its weight as light as possible.
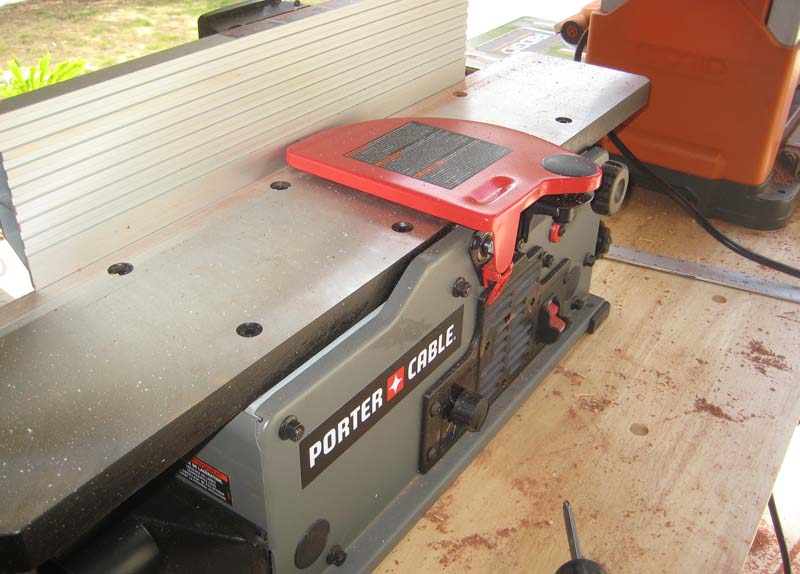
This page will be constantly updated as the work progresses. I'm currently 're-setting' up my shop since I just bought a new bandsaw, table saw, two routers, a planer, a jointer and an additional oscillating drum sander. I'm also wating for a couple of specialized router bits for this bass to arrive that should be heare by the end of this week, so stay tuned.
UPDATE:
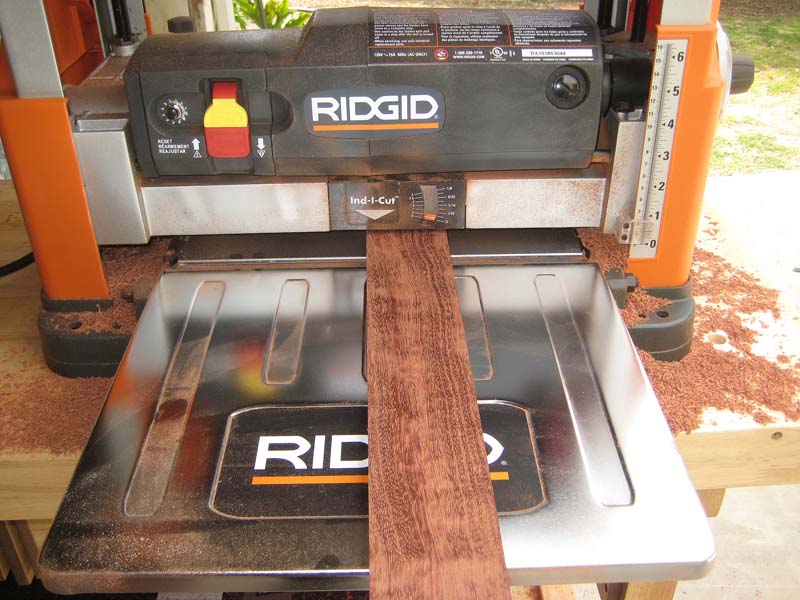
I started bulding the neck today. The first thing that I had to do was rip a few fingerboards from a new Bubinga plank that I got a few days ago:
Next, I ran it thru the planer several times to get it to be .400" thick:
I ripped a couple of the quartersawn maple neck blanks for the two fingerboards:
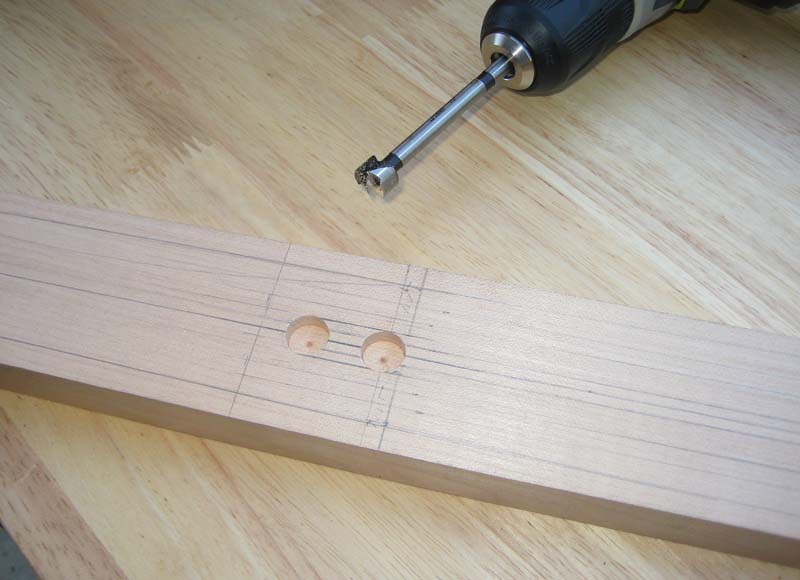
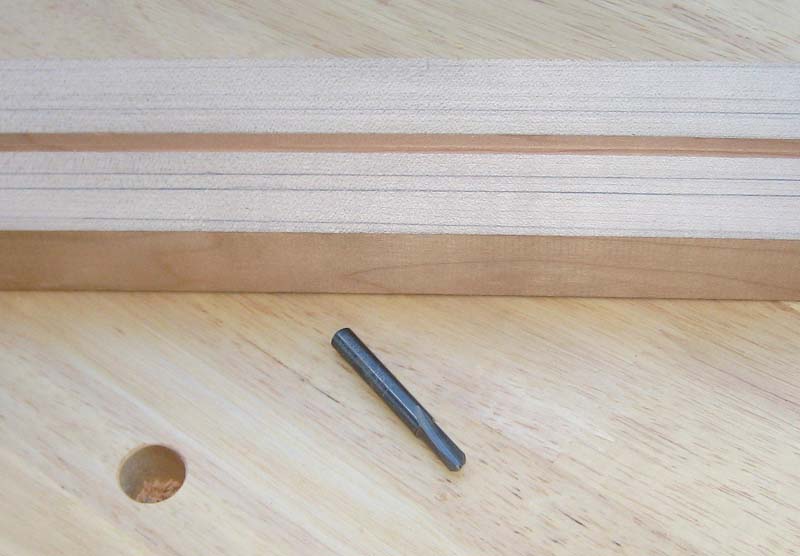
I used a 1/2" Freud forstner bit to start the holes for the truss rod adjuster:
Then I routed the truss rod channel with a 1/4" roundnose bit:
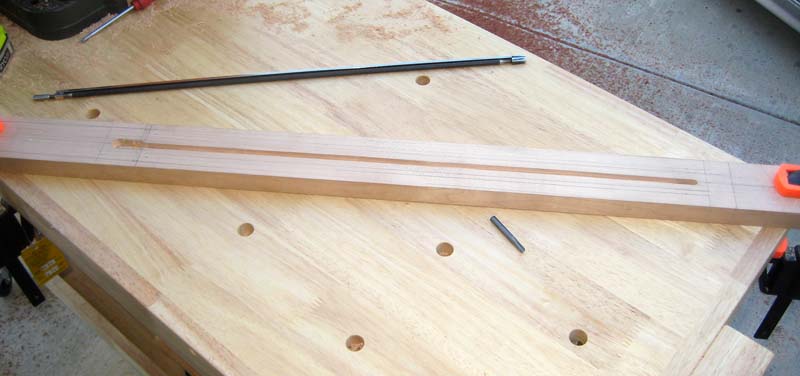
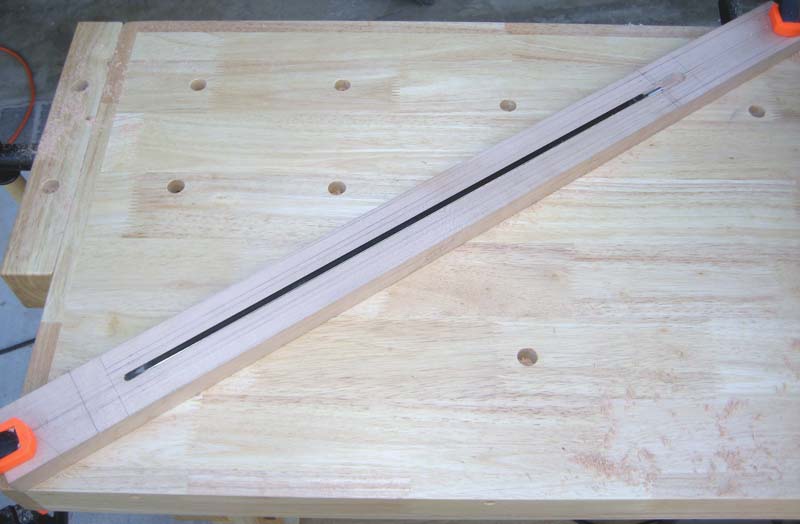
Test fitted the truss rod and it fits perfect:
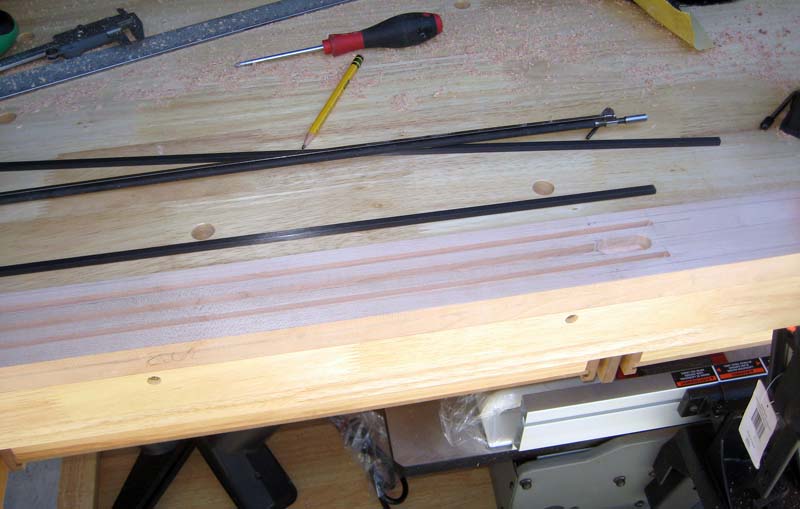
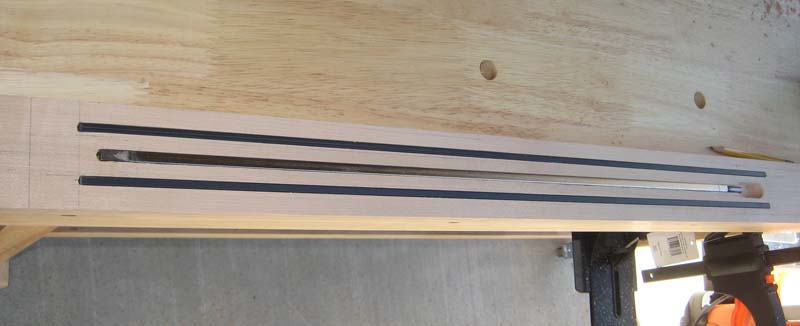
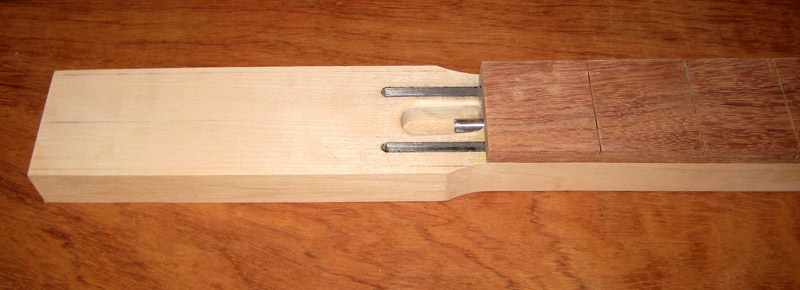
Next, I had to lay out where the two 24" long graphite/carbon stiffeners would go, and then route the .200" wide channels for them
I then epoxied the two stiffeners in place (the truss rod is not glued in of course):
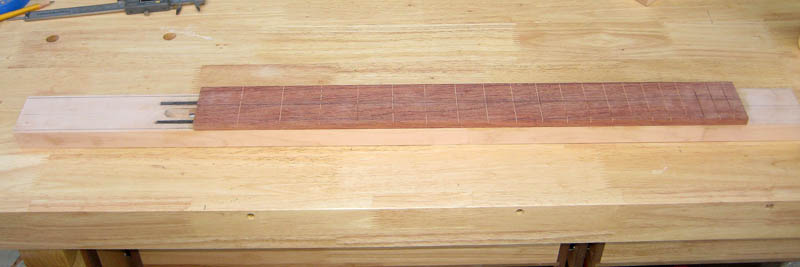
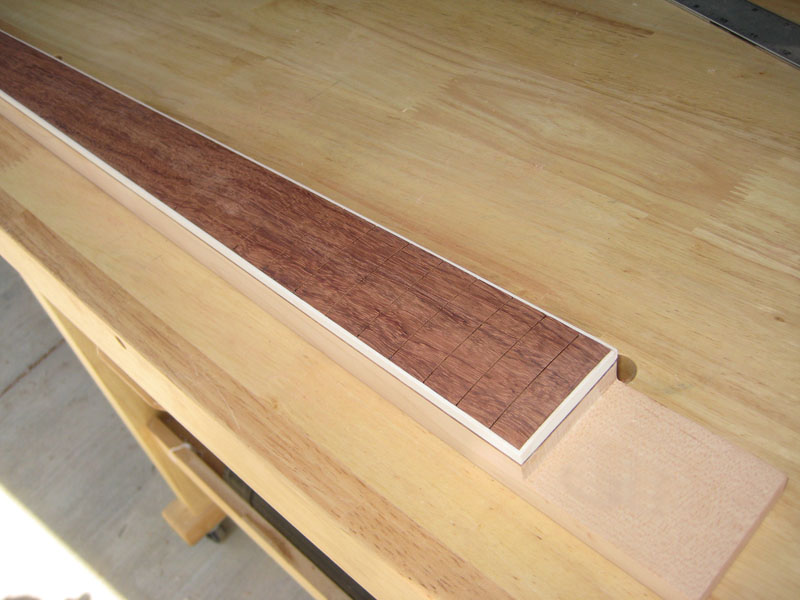
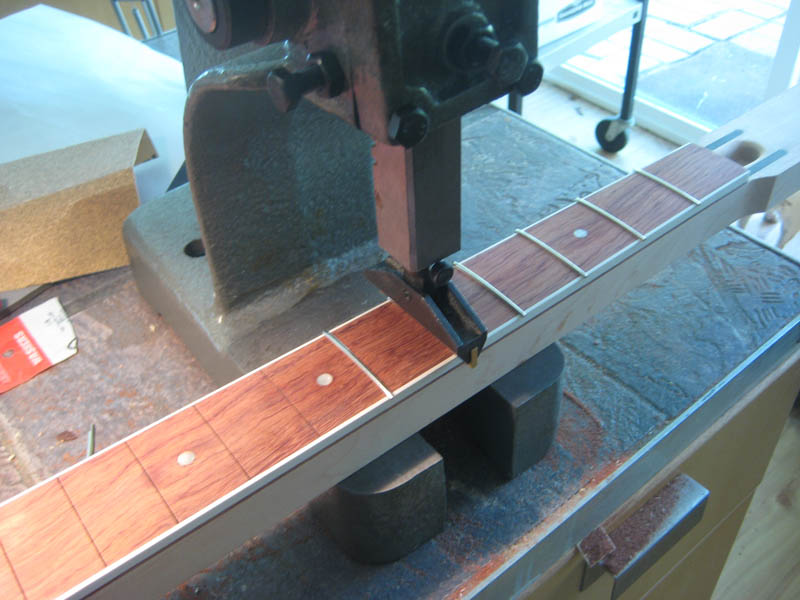
After cutting the fret slots, I then glued the fingerboard onto the maple neck blank:
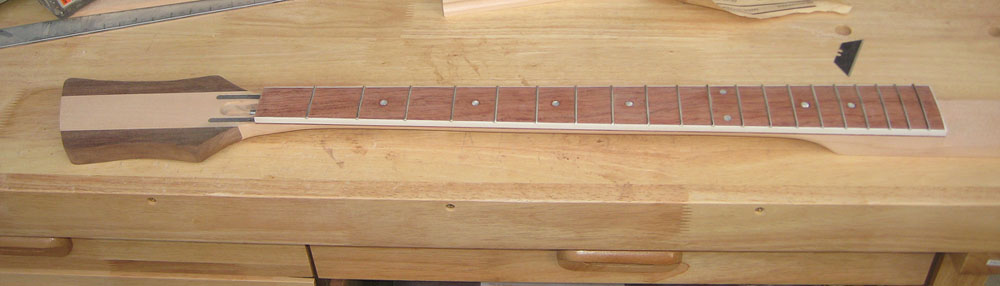
I just started with the outer shaping of the neck & fingerboard to get it ready for binding:
Here's the last pic until tomorrow. I hope to have the binding shelf routed, binding installed, the walnut 'wings glued onto the headstock (and shape it), install the front dot inlays and side dots, radius the fingerboard, fret and get it's rear profile roughed in by the end of the day.
UPDATE:
I got most of the neck finished today! I'm very pleased at the way that it's turning out. ;-)
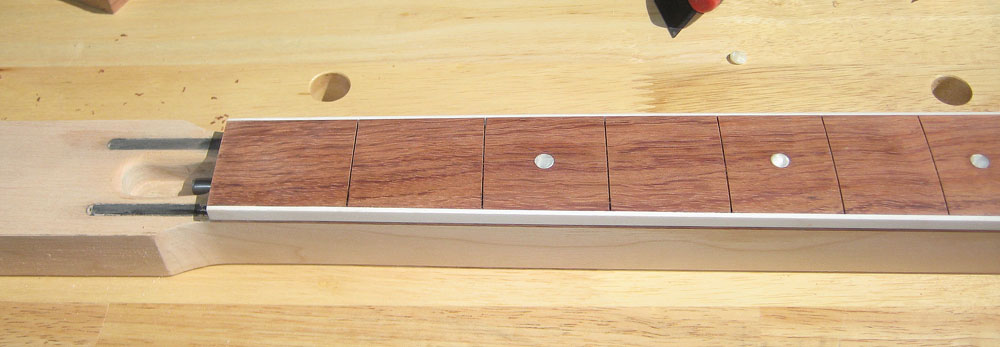
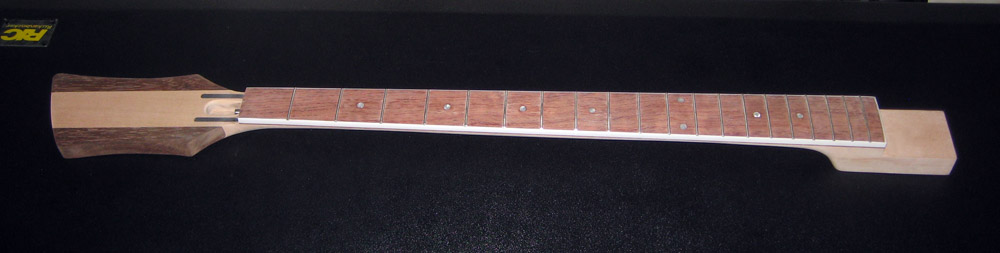
Here's a pic of it after routing the binding slot, installing the binding and radiusing the fingerboard with a 10" radius.
I also cut the tenon where the neck is going to be glued into the body.
Then I drilled and installed the front fingerboard dots with 1/4" pearloid discs:
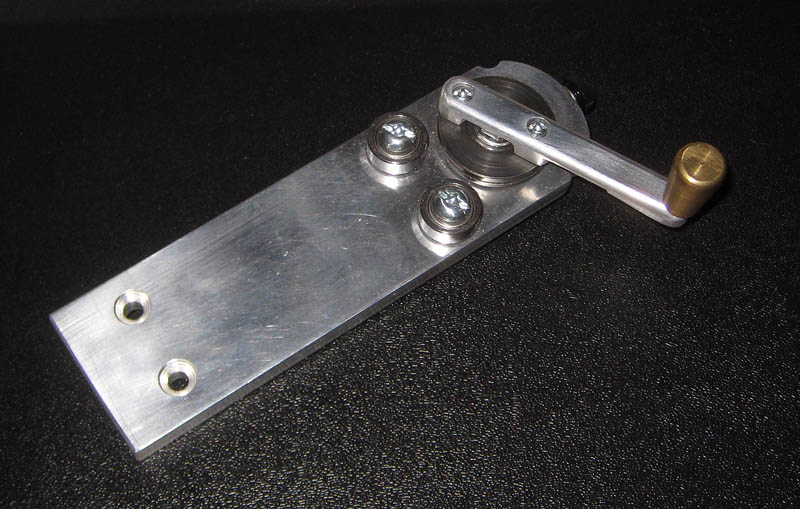
I 'pre-radiused' the frets and then used a fret press to install them. Here's a pic of the radius tool that I used
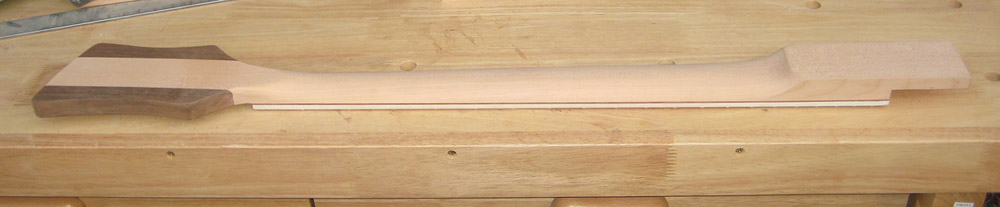
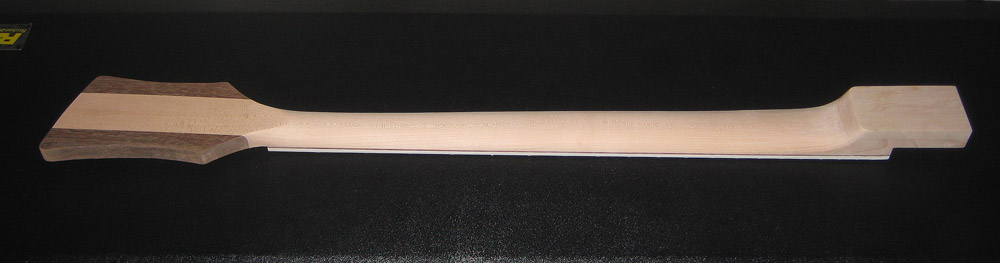
I then added the walnut wings to the headstock and shaped the neck's rear profile:
A pic of the back:
I still need to final shape the neck, install the side dot markers and bore 1/2" holes for the tuning keys, but that shouldn't take much time. Hopefully, I can start building the body for it tomorrow and and have it close to completed by friday. After feeling this neck, I really want to play it now!
UPDATE!
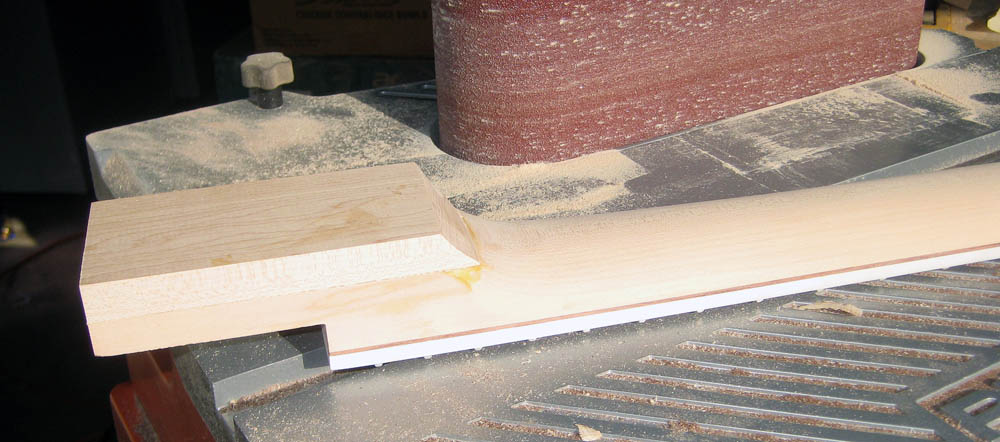
I added a piece of maple to the heel of the neck to build it up to 1.00".
Then I reshaped the heel:
Then I started preparing the slabs of a maple for the body:
After running them thru this machine (a jointer), I glued them together:
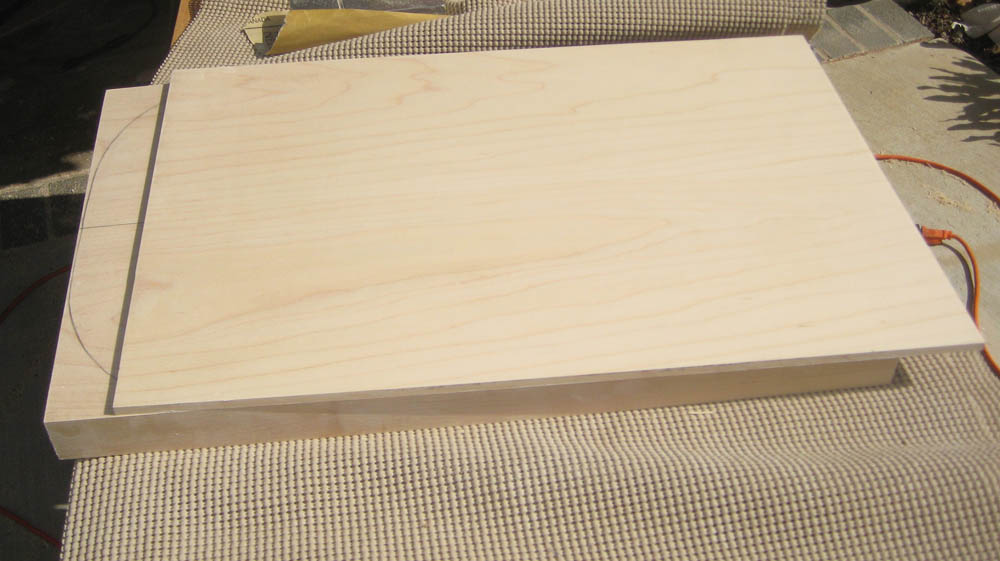
First i had to thin the 1 3/4" main body core down to 1.25" in the planer. It took ALOT of passes being that it's 13" wide hard white maple:
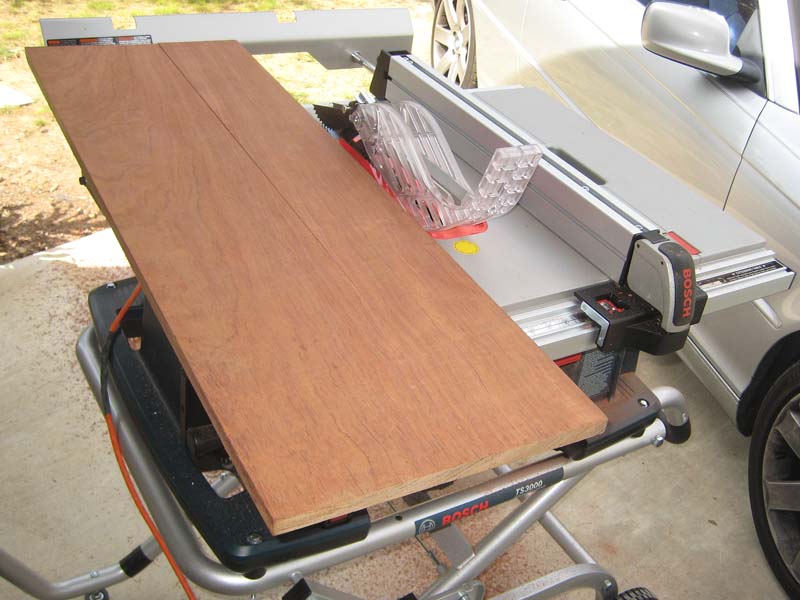
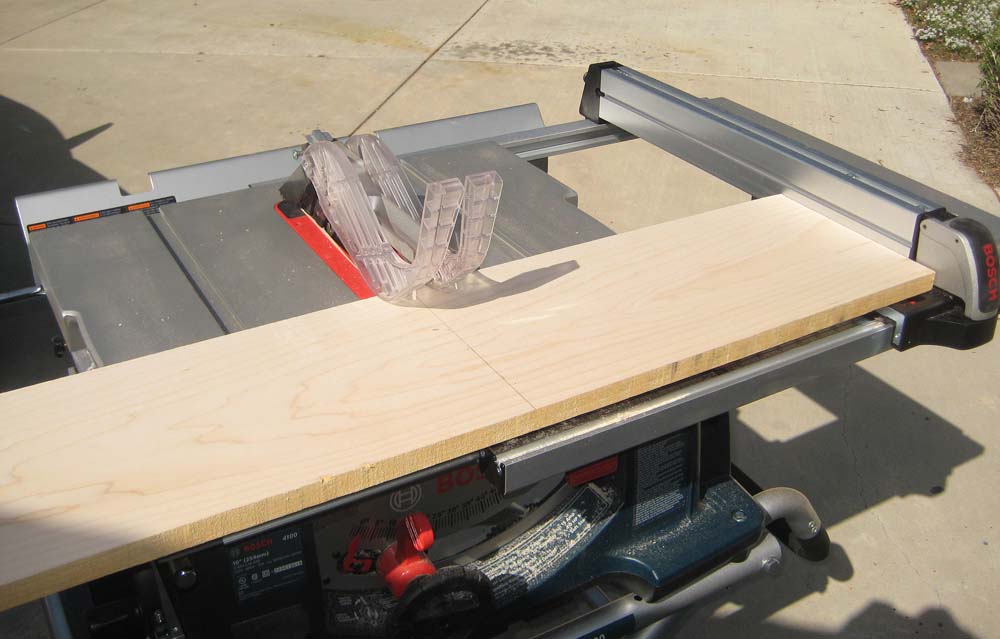
Next, it was time to move on to making the back. I cut two pieces out of a large 3/4" thick 48" long plank on the table saw:
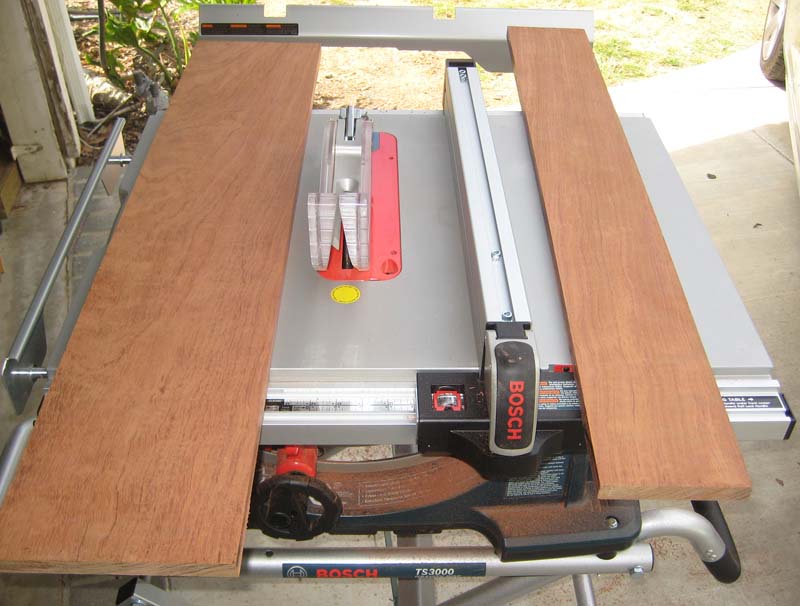
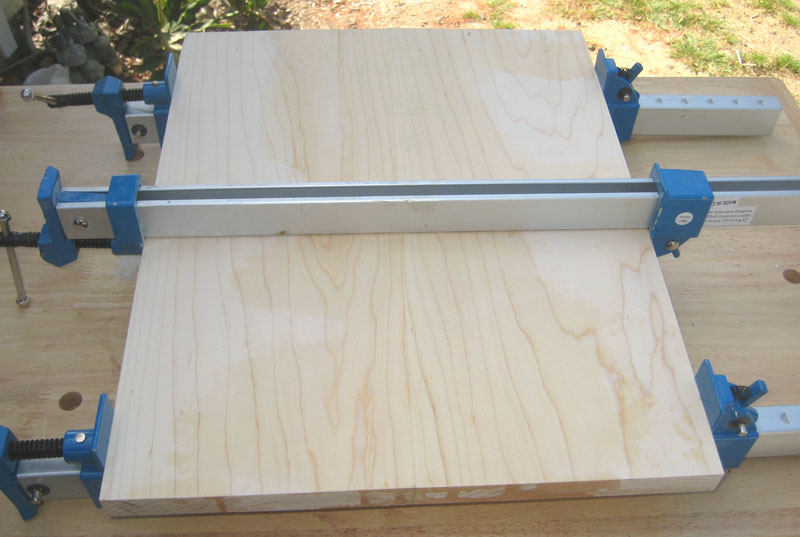
After running the two pieces thru the jointer, i glued them together:
I took them out of the clamps and got it ready to run thru the planer:
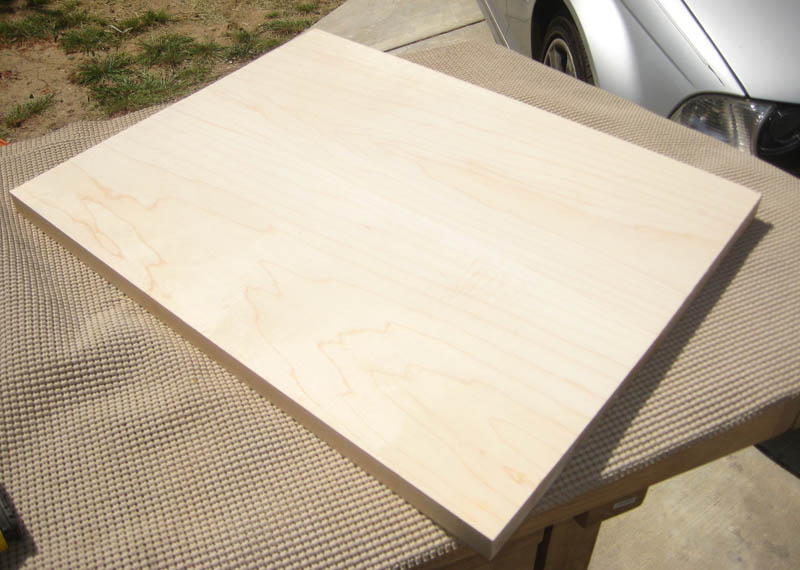
Here's the two pieces, now planed to 1 1/4" (top) and 1/4" (back)
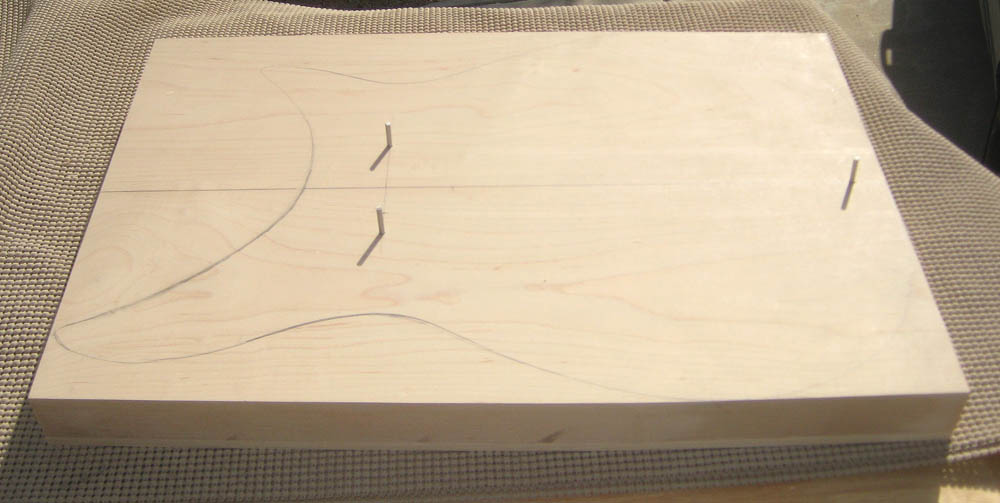
I used my drill press to drill three 1/8" indexing holes, and used aluminum pins to keep the two pieces aligned so i can cut them out and shape them together. They'll also allow me to keep everything in place when it gets glued up. (one is under the bridge and the other two are under the neck pickup). They do not go all the way thru the back, and once it's all glued up, the aluminum pins will be removed and filled with 1/8" wood dowelling.
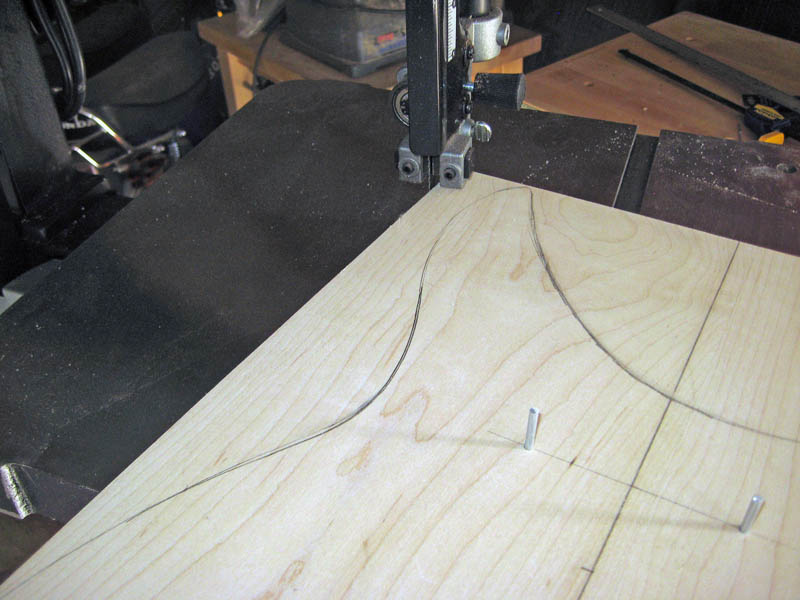
Time to cut them out together on the bandsaw:
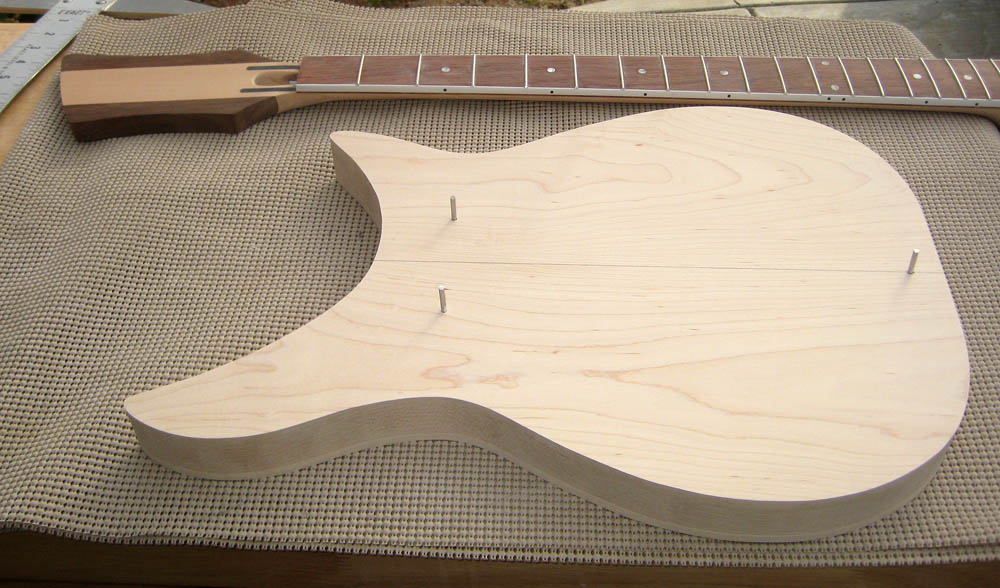
Here is is after running it thru the shaper. It now weighs exactly 6 lbs right now but wil be alot lighter once its hollowed out:
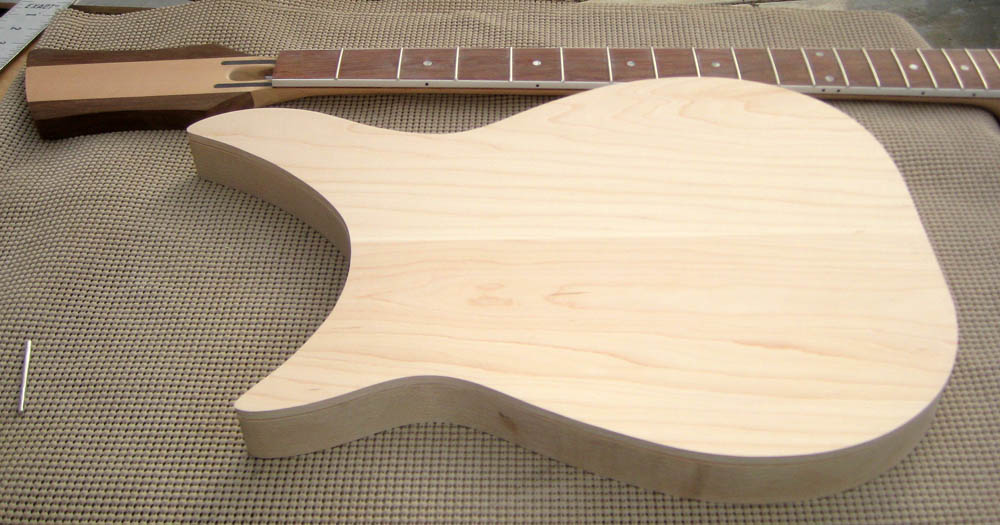
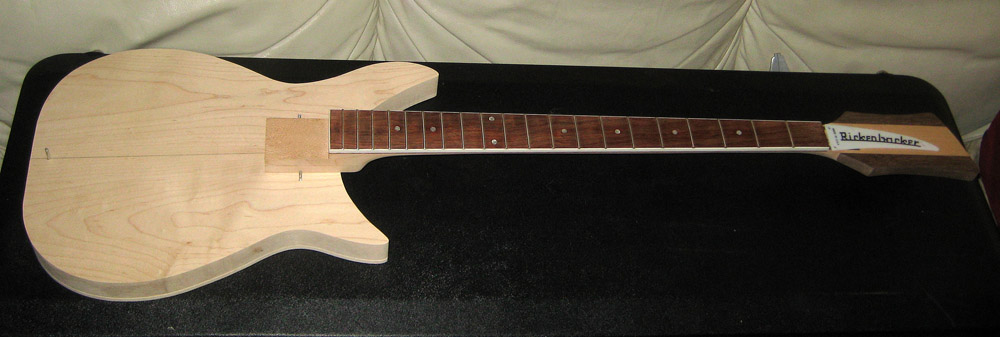
........and of course I just had to lay it out to see what it's going to look like:
I have a gig tomorrow so I won't be able to continue working on it until Sunday Next, I'll have to cut the tummy cut, route the area for the neck, pickups and controls and route the 'wings' area of the body to make it semi hollow. The center is going to be left solid all the way from the neck pocket to the bridge.
BTW, the completed neck assembly weighs 1lb 12oz, so it weighs about the same as a standard fender precision neck. Coupled with the body ( I estimate the body to weigh about 5 lbs) and the rest of the hardware, it looks like I may hit my target all up weight of 8- 8 1/2lbs after all.
I know that it may seem to be a shame to cover up all the pretty maple and walnut, but this one is going to be painted with black nitro and have a white plexi pickguard.
I do have all the wood and components for a second one (I seem to always build two of everything) and the second one is going to be finished in maplglo (natural).
To see more progress of this build, please go to PAGE TWO
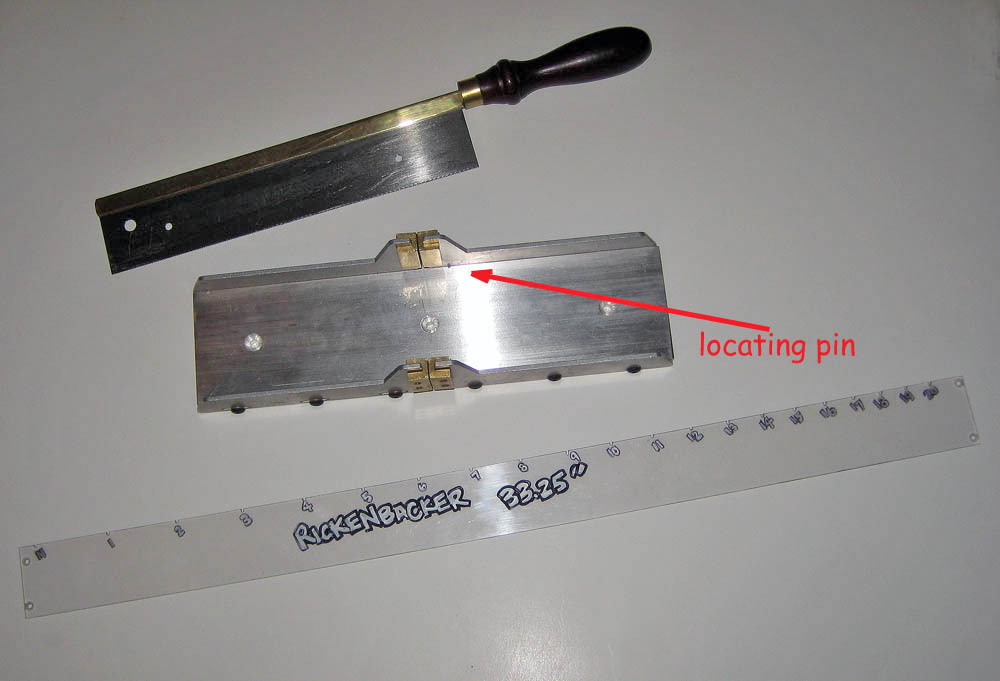
To make it a little easier (and foolproof), I made my own Rickenbacker bass fret spacing jig out of lexan. You simply screw it to the underside of the fingerboard blank, and set the locating notch in the miter box's locating pin, cut the slot, and move onto the next one until you've cut all 20 of them. Once they're cut, you cut off the board at the nut and at the end of the fingerboard where the 4 mounting screws held it in place. This really made cutting the fret slots super easy.