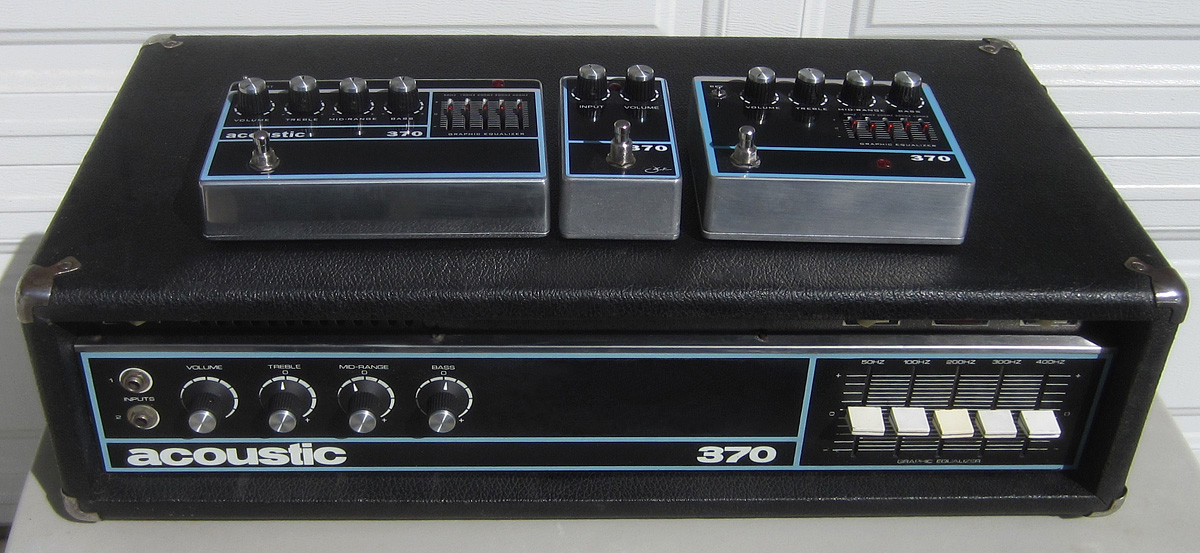
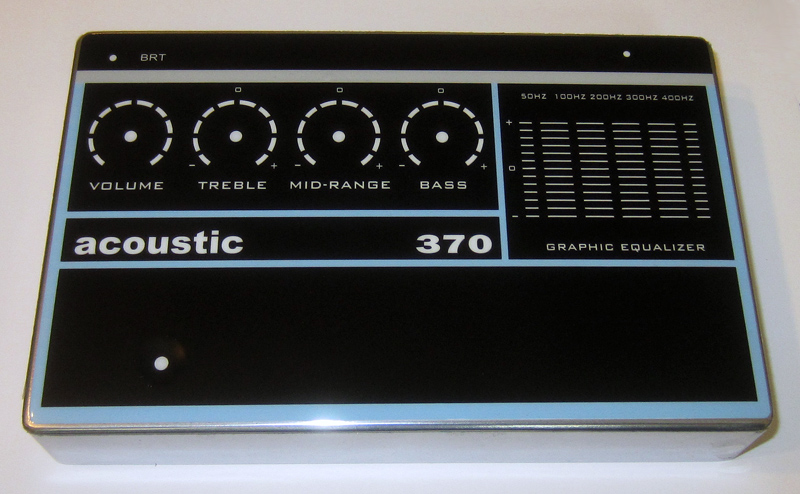
I LOVE vintage Acoustic bass amps and have owned A LOT of them over the years. Out of all of them, the 370 is my favorite, so I decided to try to make a pedal version of it using the original factory schematic with original vintage Acoustic transistors and inductors. I also wanted it to run at the same voltage (32 volts). I am very pleased to say that I have achieved it and it has become a permanent part of my rig as an always on pedal ever since I completed it.
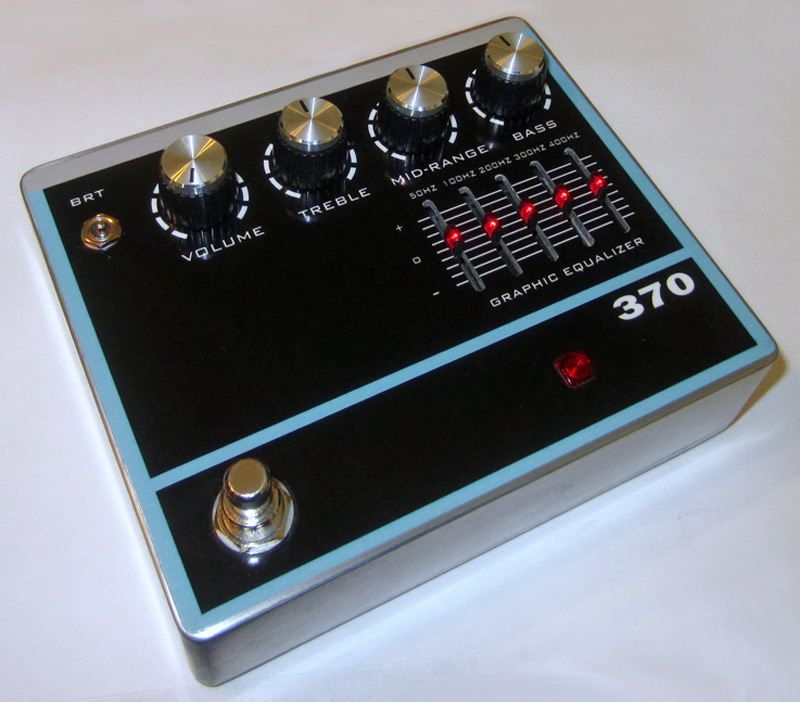
Acoustic 370 Preamp
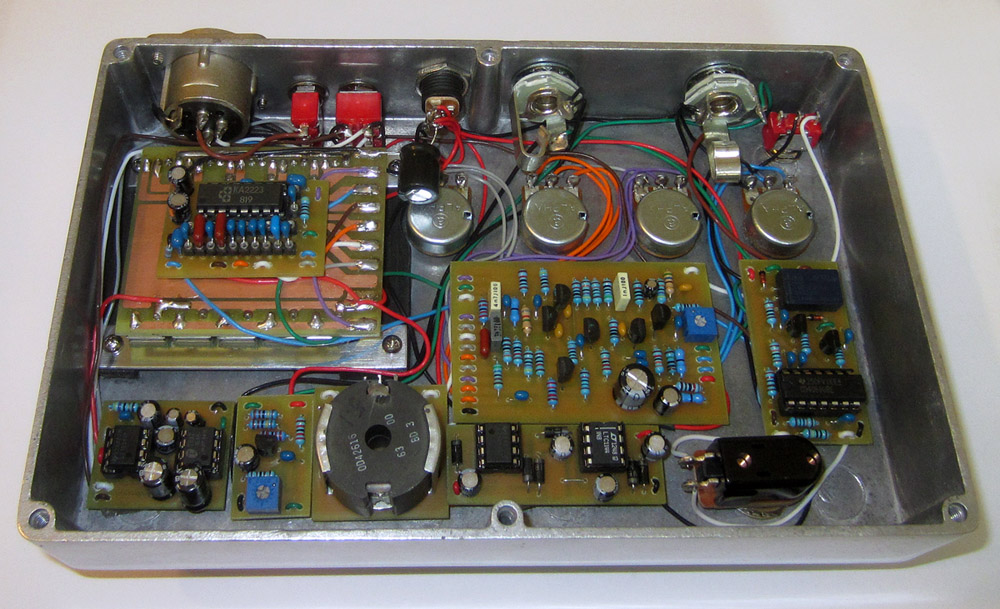
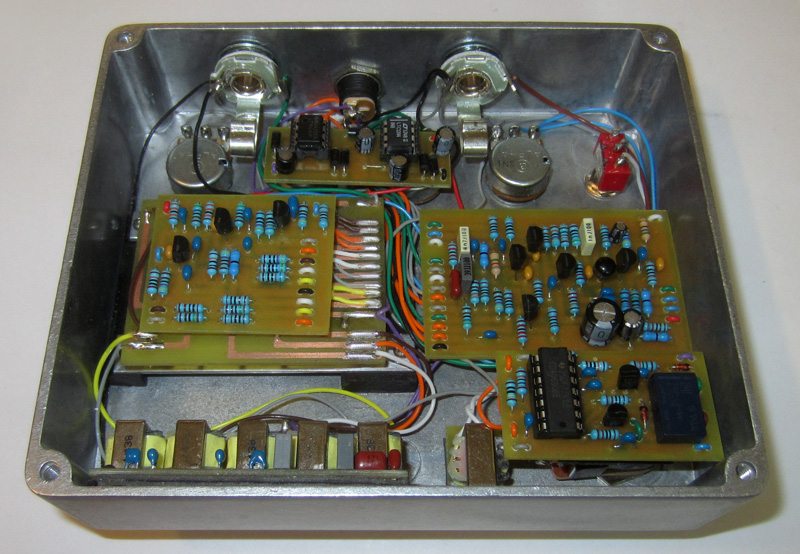
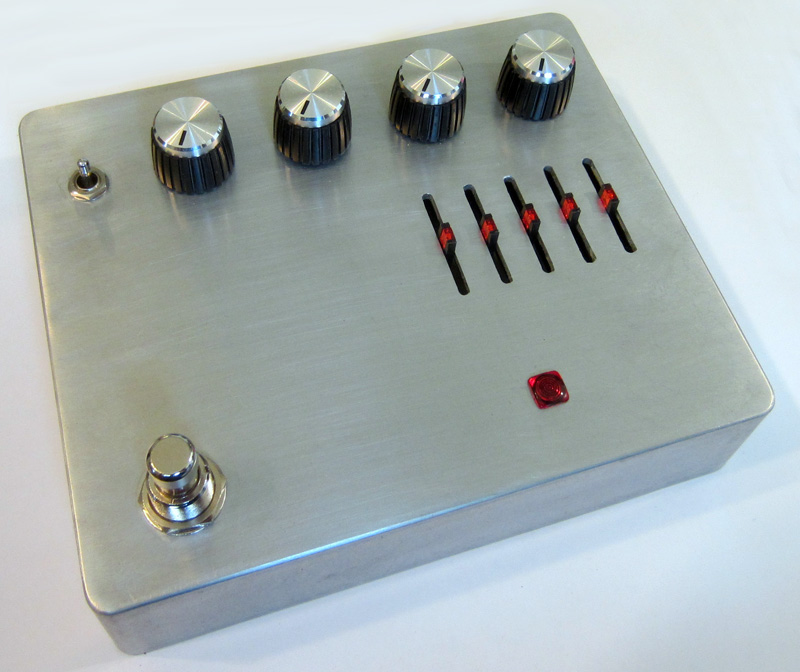
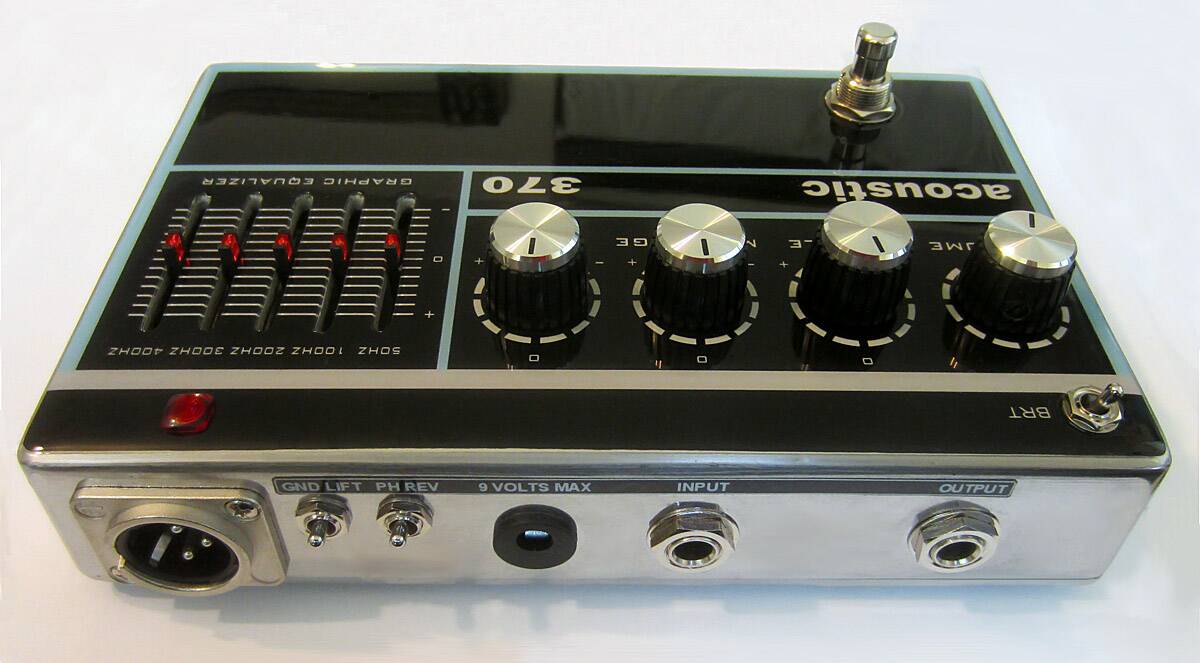
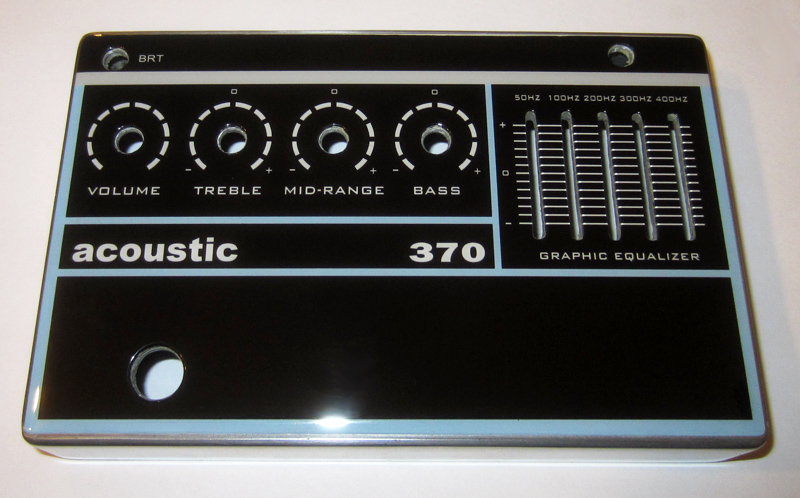
In order to run it at 32 volts but still use a standard 9 volt center negative power supply, I added an internal dual charge pump to convert 9V to 32V. Both the small and large versions draw 70 ma. All of the pots, including the slide pots in the original are 50K linear. In the small version I used Alpha 20mm travel slide pots (with LEDs) and 6 original Acoustic (made by Artted) inductors. On the larger 1590DD version I used one 6 Henry inductor taken from a White Instruments 1/3 octave equalizer for the midrange control, and a 5 band gyrator IC for the inductors for the graphic eq. The IC requires 100K pots so I used Alpha B100K 30 mm travel led Slide pots. The large verison also has a DI output (XLR jack) with ground lift and phase reverse switches on the top panel.
Small box version: 1590DD large box version:
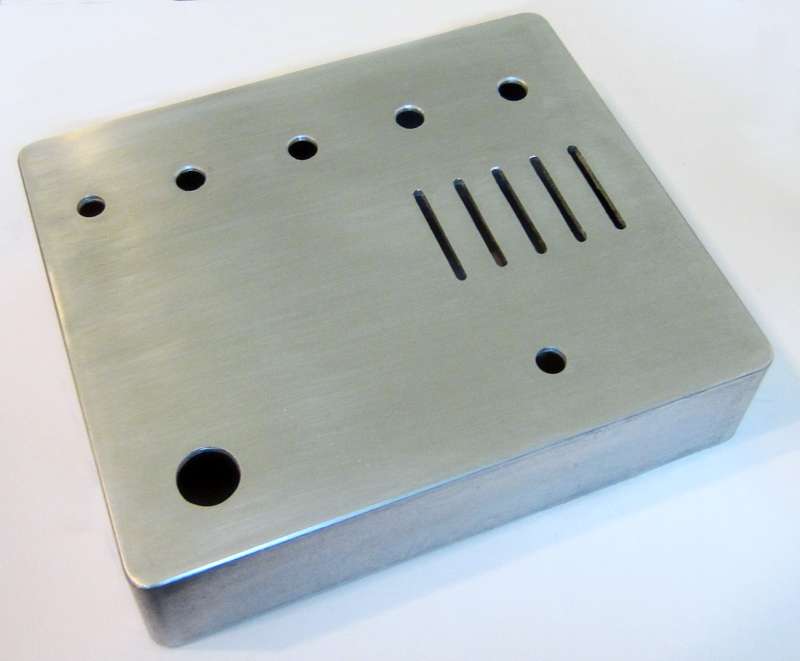
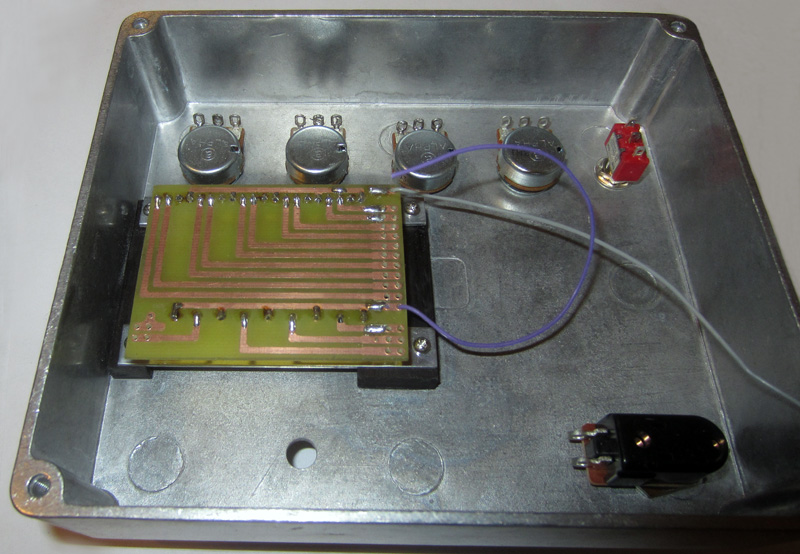
One of the most difficult parts of the build was to cut the slots for the slide pots in the enclosures. To do that, I taped a printout of each pedal's faceplate to the enclosures. Then I drilled a 1/16" hole where the center detents would be, and two more at each end of their travel, then used a dremel with a 390 cutoff wheel to connect the holes. After that, I used a very thin flat file to open up the slots to the proper width for the pot shafts, Finally using a round needle file at each end. This took quite a while since they had to be a perfect fit. The slide pots are PCB mounted and have 2mm screw holes at each end for mounting them. I made two thin strips of aluminum and used the two outside pot's 2mm screw holes to mount the strips to them.
The two aluminum strips were mounted to two wood blocks. The blocks allowed me to set the pot shaft height so that they didn't protrude too far above the enclosure's face. Once they were aligned with the slots, I epoxied the blocks in place.
Top panel view:
For the faceplates, I drew them up in photoshop at 800 dpi and printed them on very high quality matte sticker paper from online labels.com. I clearcoated them with Krylon clear satin to set the ink. When dry, I trimmed them around the edges with a #11 Exacto knife and applied them to the enclosures. Once I was satisified with the position, with no air bubbles under it, I coated it with Park's Super Glaze 2 part epoxy finish. After 8 hours, I gave it a second coat. The finish is very thick and cured in 72 hours. When fully cured, I again used the Exacto to cut the out the faceplate. holes for the pots, led and switches.